Friday, December 12, 2014

Painted Everything.

I love painting. I always have. I remember being little, and we were painting the outside of our house. I wanted SO BADLY to just paint a little bit, but my dad said no, and I retreated to my Barbies. Since, I've painted walls, ceilings, ornaments, paper, and now GLASS and WOOD. I have unleashed a monster within. As of late, I have discovered the magic that turns a regular jar/vase/piece of wood into a masterpiece. Below are some pictures and instructions. Enjoy :)

Holiday Vases
This was one of my firsts. I absolutely love how they turned out, and if I can't find any takers for them, I will definitely be displaying them in my future home. (Along with everything else in this post, I'm pretty sure.)
Materials used:
- Two glass vases: Free, had on hand. You can find these at any second hand store for nearly pennies.
- paint: Also had on hand, but usually retails for around sixty cents to two dollars.
- brushes: Had on hand. I have a lot of things on hand...
- Twine: I actually had to buy this! It was about three dollars at Michael's.
- String: Also on hand. Dang. 
- bells: Three dollars, Target.
- twigs: Provided by Mother Nature. Thanks, girl.

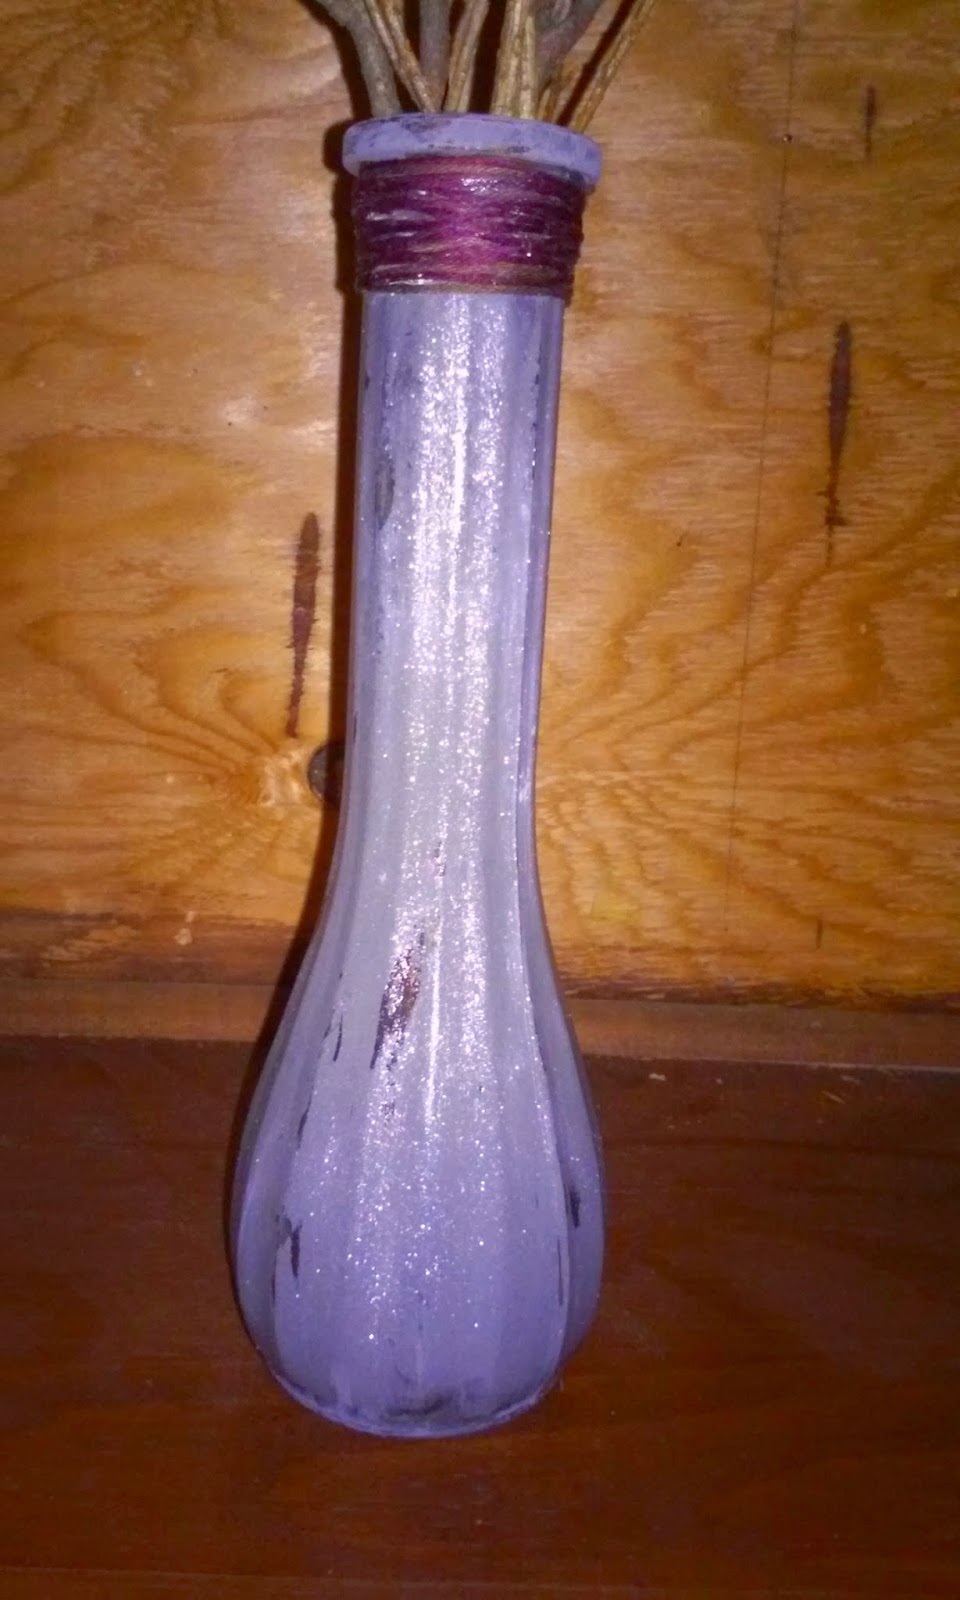
First, I wiped the glasses to get all the dust out. We have a habit of keeping every vase we've ever acquired, so they were in storage and verrrry dusty. After that, they were ready to paint. I chose gray and white, colors that go well in just about any home. I did the gray first, then attempted to distress it. It didn't go well, so to cover it up I added some sparkle paint and LOVED it. Then I moved to the white, which has slightly less sparkle but still cute. I noticed they needed something.I tied some tan and burgundy string (the kind used for friendship bracelets) around the tops.


Still needed something. 
I went out later for the twine and the bells. Instead of gluing the bells on, I decided to just tie them on, so that these could be displayed all year round. After that, they were done!


Up next: mason jars. I love mason jars because there are literally endless things you can do with them. I, in the holiday spirit, made them into holiday decor. 
Materials used:
- Mason jars (2): On sale for 99 cents at Michaels (YAY!)
- Paint: On hand.
- Burlap: On hand. What else is new?
- Twine: Three dollars, Michael's. Same as used for the jars.
- Steel wool: Found in my basement. Possibly from the 70's. 
- Bells: Three dollars at Target.
- Christmas floral: On sale for 2.50 at Michael's.
First step was to paint. I did the red first. Once it was dried, I distressed it. (Better this time.) After that, I cut the burlap, which is not simple. For those that don't know, it frays. A lot. To lessen this, be sure to cut along the lines. I took the burlap and tied it in a little knot, and secured with hot glue. If you haven't noticed, hot glue is my best friend. To top it off, I added flower for fall, and the Christmas greens for the holiday season.


I also did a white one! This one is mostly the same. However, instead of burlap I did twine and bells. I decided to be a bit ambitious, and paint the twine. Yes, paint the twine. It was incredibly difficult and I got incredibly messy. I cut two long pieces, and painted one green and one red. I don't know, you figure out a way that works best for you because mine was a disaster. After those dried, I tied on some bells and wrapped them around the top of the jar, attached with - you guessed it - hot glue.


Next is wood! Wood is also a fun medium to paint on, as many people do. I absolutely went crazy when my sister pointed out the pile of two by fours on our porch that were unable to be burned because of the paint on them. WHAT. Those are for CRAFTING? I have the best dad ever. So I took a few of those pieces that I deemed worthy to be painted, and got started. The first one is one that I will never, ever give away or sell to anyone. It's got my favorite verse painted on it, Romans 8:28. "And we know that God causes everything to work together for the good of those who love God, and are called according to His purpose for them." Beautiful words, beautiful reminder. 

Materials used:
- Wood: graciously provided by Father Dearest
- paint: On hand.
- One wine cork for stamping
- Sand paper: Also provided by Daddy.
- Wood stain: Daddy-o
- Burlap: Three dollars, Michael's
- Lace: On sale for $1.50 at Hobby Lobby.

This one had a lot of the original white paint on it, so it was already looking good. I took the wine cork, dipped it in silver paint, and made polka dots on the front. I then loaded up the sides with sparkle paint. I love sparkles. Then I simply painted on the verse. Lovely.

Next up was a bit more ambitious sign. First off, I decided to STAIN it. I have never stained anything in my life, but I've seen almost every episode of Rehab Addict, so I'm basically Nicole Curtis. I grabbed a brush, and rubbed that stuff on. It dried overnight, and I resumed the next morning. I first cut and wrapped a piece of burlap around one side. On top of that, I layered the lace. Next came the painting of "family." I added a period at the end, not sure why. Not sure I love it. Nonetheless, it's there for eternity. Another project done!
I Literally Cannot Stop Crafting. Help.

I'm totally serious. Now that I've moved back home, I have oodles of time to craft whatever my heart desires, which is a lot of painted jars and wine corks. I do apologize for not having pictures of the steps for each item, I got a little carried away and forgot to snap a few pictures in the process. However, I will explain in great detail :) 

Disclaimer: this is going to be a very long post. #Sorrynotsorry.

Wine Corks Galore!

The first craft I'll explain is my beloved wine cork coasters. I found a lady who was selling a bag of 50 corks for $5 - score! I actually eventually ended up buying three bags. Oops.

I loved making these because they were SO easy, literally anyone with a hot glue gun can handle this one. 
Materials needed:
- wine corks (eight per coaster)
- hot glue gun
- ribbon (optional)
- glass tile (optional)
The first coasters I made were extremely experimental. I have seen the pictures on Pinterest, but didn't really go off of a tutorial. I started out by grabbing two that were similar in size. I hot glued along the long side of one cork, and stuck it on the other. I did this four times, so there were four sets of two glued corks. I then glued them all together, in what you see as the vertical/horizontal pattern. And then, YOU'RE DONE. That's it. Of course, you can make however many coasters as you have corks, at the time I had enough for six coasters. 
To take them one step further after they were done, I took some spare glass tiles I had lying around from when my parents redid their kitchen, and glued them along the edges of two coasters. Once they were done, I wrapped them up in ribbon, and now they sit in my basement, waiting for a good home.
Final cost:
- Corks: $15 (for 150 corks), bought online
- hot glue/gun: free, had on hand
- tiles: free, had on hand (you can buy them at Lowe's for $1-$20/sq. foot)

My next craft also included wine corks. I made a wine cork memo board. Actually, memo boards. As in several. I got a little out of control with the corks...

But it turned out super cute! 
Materials needed:
- wine corks (36 total for this size, adjust to your liking)
- burlap accents
- buttons
- ribbon
- pins
I started a lot like the coasters. I grabbed four corks, and glued them end-to-end. I did this nine times. I then took each set of four and glued them lengthwise to each other. After a few minutes, they were all glued together. I noticed it was a bit flimsy, so I cut out a piece of cardboard big enough to cover the entire back with out being exposed. I glued it on the back, and secured the corks. Next, I took the burlap flowers and glued them on. On top, I added the cute buttons, and it was really looking good! I decided to add on a string, in case someone would want to hang it rather than just prop it against a wall or something. I cut a piece of ribbon and tied knots on both sides. I pushed a pin on each end, and hot glued them in for good measure. Viola! Another project complete (:

Friday, April 18, 2014

Japanese Hibachi White Sauce

One of my absolute favorite places to go eat is Wild Chef. It's a Japanese hibachi restaurant, and it's amazing. Possibly the best part of the meal is the white sauce they give you. It. Is. Amazing. I was on Pinterest one day and stumbled across a recipe for it. A couple months went by, and I finally picked up the ingredients to try it. I was feeling daring. In the past, a lot of the Pinterest recipes I've tried have not turned out well, such as the 75 Calorie Greek Yogurt Cheesecakes and Homemade Beer Bread. It's not that those aren't great recipes, but they just somehow didn't turn out or taste good to me. The white sauce did not turn out like those ones. It was soo good. 
The ingredients are all in the photo below. The recipe also calls for a dash of cayenne pepper, but since I only made a half batch I wasn't going to buy it for half a dash, so it is not pictured. I have to say, I was skeptical.

 Especially when it looked like this...
I mixed it all together and put it in the fridge, and began cooking the chicken.
Things started smelling good with the chicken, and later cooking the carrots as well.
Once the rice, chicken, and carrots were all finished, I topped it with the sauce, mixed it, and enjoyed. It tasted exactly like at the restaurants. It's amazing. Job well done, Japanese Steakhouse!

Wednesday, April 9, 2014

First Post! Yayyy!

So we've all seen them, we've all been curious. I'm talking about those Pinterest DIY ideas that seem borderline genius. This blog is dedicated to trying them out. Sometimes these turn out awesome, and sometimes they don't. This is where I'll post the before, during, and after of those projects along with prices, because let's face it, who doesn't love saving a dollar here or there?

I am a twenty year old who is not financially independent. I am currently living in an apartment near my current school, but plan on moving back home once summer starts and I transfer schools in order to save a little money before really moving out. One thing that I have learned to love during my first two years of college is saving money. However, I also love to craft and make things myself. It saves a lot of money, and it's fun. I have also become addicted to Pinterest. This website is, in my opinion, the best website to enter the internet. This is where I find the majority of my DIY projects. 


This is a DIY dry-erase board. (Don't judge the number on the board, I am a busy college student :P) I cannot remember where I saw the idea for this one, but I do not claim the idea as my own. The total cost of this one breaks down as follows:
Frame: $10.00, Meijer
Scrapbook Paper: roughly $1.00, Michael's
Dry erase pen: had on hand
This one was pretty simple, so good news for those of you who say you "can't" DIY. All it took was to pop out the the glass from the frame, cut down the paper to fit inside, then pop the glass back on with the paper inside. DONE. 


This project took help from my dad because Mom didn't trust me with spray paint. Ugh. Anyways, this was another pretty cheap project. The file cabinet used to be my grandma's, which I acquired once she moved out of her apartment. These can be found on Craigslist for a couple bucks if your grandma doesn't happen to be moving right now. The spray paint we had on hand, and it happened to match my room so it worked out perfectly. I recommend painting it in a garage or outdoors to avoid fumes or unwanted paint in the house. The original idea came from here, and worked wonderfully.


This one is my most recent, and I love it! Before you get too worried, it's just mouthwash (:
Everyone has their mouthwash in those ugly plastic bottles that it comes in. I came across this pin, and loved it. Another easy DIY that anyone can do, and only takes a matter of minutes. The trickiest part was getting the label off. That took some hot water, a razor blade, about 15 minutes of elbow grease. However, it turned out awesome and makes a great piece in my bathroom. 

I don't recall seeing this one on Pinterest, so if there is an original link I apologize for not posting it. I had the bottle in my room for a couple years. I never really had anything in it, and one day when my little sister and I made a trip to Michael's, I saw these flowers on sale and BOOM. Perfect. This project, also relatively simple as long as you can pick out flowers, in total cost me about $3. 


And then there's this one. This is a project that I wish had turned out better, but it was one of my first DIY projects. I saw the idea here, and thought it looked really neat for a toothbrush holder. I had originally not put the holder in, and looking back I think it would have looked better without it. I had gotten the wrong kind of paint so it was streaky, they pebbles were/are still falling off, and the glue on the top part looks messy. If I had it to re-do, I would have definitely done a glossy spray paint on the inside, and I would have cut down the holder a little more so it fit snugger. Here's the price breakdown:
Vase: 1.00, Dollar Tree
Paint: .80, Michael's
Pebbles: 1.00, Dollar Tree
Holder: roughly 2.00, Walmart

So I hope that you all enjoy those early projects! I hope to continue to do more DIY things, and keep posting them. I will take suggestions to try things out, feel free to leave those in the comments. I am poor and don't have a ton of space for things, so some suggestions may be saved for a time when I have more cash/a  place of my own. Thanks for reading!