I love painting. I always have. I remember being little, and we were painting the outside of our house. I wanted SO BADLY to just paint a little bit, but my dad said no, and I retreated to my Barbies. Since, I've painted walls, ceilings, ornaments, paper, and now GLASS and WOOD. I have unleashed a monster within. As of late, I have discovered the magic that turns a regular jar/vase/piece of wood into a masterpiece. Below are some pictures and instructions. Enjoy :)
Holiday Vases
This was one of my firsts. I absolutely love how they turned out, and if I can't find any takers for them, I will definitely be displaying them in my future home. (Along with everything else in this post, I'm pretty sure.)
Materials used:
- Two glass vases: Free, had on hand. You can find these at any second hand store for nearly pennies.
- paint: Also had on hand, but usually retails for around sixty cents to two dollars.
- brushes: Had on hand. I have a lot of things on hand...
- Twine: I actually had to buy this! It was about three dollars at Michael's.
- String: Also on hand. Dang.
- bells: Three dollars, Target.
- twigs: Provided by Mother Nature. Thanks, girl.
First, I wiped the glasses to get all the dust out. We have a habit of keeping every vase we've ever acquired, so they were in storage and verrrry dusty. After that, they were ready to paint. I chose gray and white, colors that go well in just about any home. I did the gray first, then attempted to distress it. It didn't go well, so to cover it up I added some sparkle paint and LOVED it. Then I moved to the white, which has slightly less sparkle but still cute. I noticed they needed something.I tied some tan and burgundy string (the kind used for friendship bracelets) around the tops.
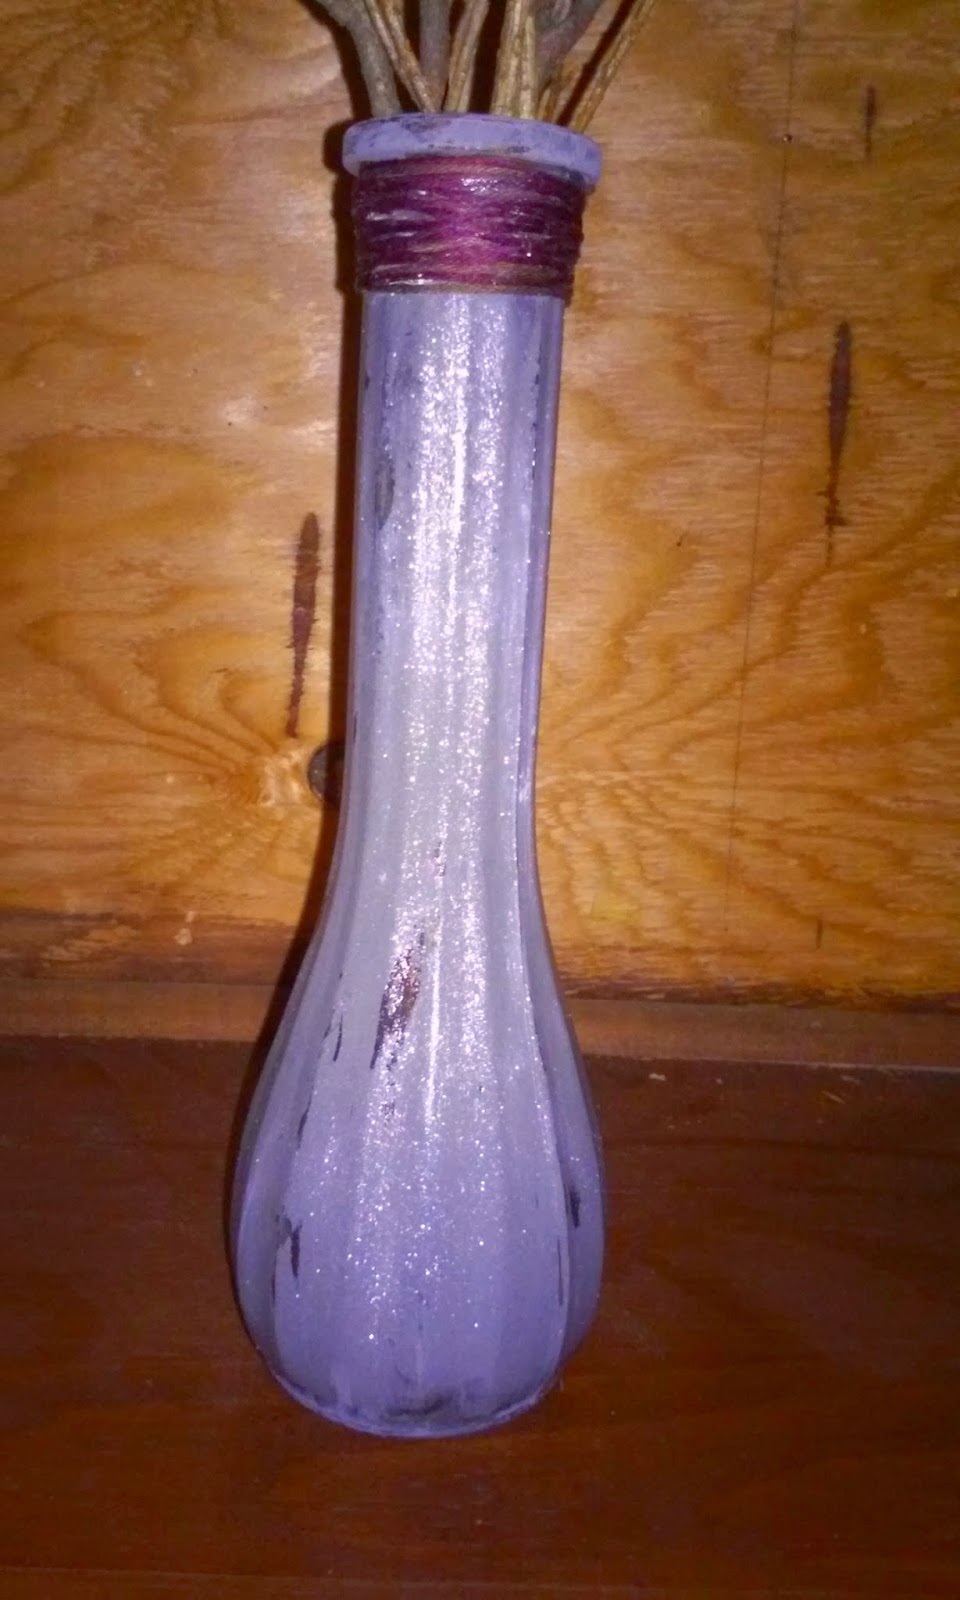

Still needed something.
I went out later for the twine and the bells. Instead of gluing the bells on, I decided to just tie them on, so that these could be displayed all year round. After that, they were done!

Up next: mason jars. I love mason jars because there are literally endless things you can do with them. I, in the holiday spirit, made them into holiday decor.
Materials used:
- Mason jars (2): On sale for 99 cents at Michaels (YAY!)
- Mason jars (2): On sale for 99 cents at Michaels (YAY!)
- Paint: On hand.
- Burlap: On hand. What else is new?
- Twine: Three dollars, Michael's. Same as used for the jars.
- Steel wool: Found in my basement. Possibly from the 70's.
- Bells: Three dollars at Target.
- Christmas floral: On sale for 2.50 at Michael's.
First step was to paint. I did the red first. Once it was dried, I distressed it. (Better this time.) After that, I cut the burlap, which is not simple. For those that don't know, it frays. A lot. To lessen this, be sure to cut along the lines. I took the burlap and tied it in a little knot, and secured with hot glue. If you haven't noticed, hot glue is my best friend. To top it off, I added flower for fall, and the Christmas greens for the holiday season.


I also did a white one! This one is mostly the same. However, instead of burlap I did twine and bells. I decided to be a bit ambitious, and paint the twine. Yes, paint the twine. It was incredibly difficult and I got incredibly messy. I cut two long pieces, and painted one green and one red. I don't know, you figure out a way that works best for you because mine was a disaster. After those dried, I tied on some bells and wrapped them around the top of the jar, attached with - you guessed it - hot glue.


Next is wood! Wood is also a fun medium to paint on, as many people do. I absolutely went crazy when my sister pointed out the pile of two by fours on our porch that were unable to be burned because of the paint on them. WHAT. Those are for CRAFTING? I have the best dad ever. So I took a few of those pieces that I deemed worthy to be painted, and got started. The first one is one that I will never, ever give away or sell to anyone. It's got my favorite verse painted on it, Romans 8:28. "And we know that God causes everything to work together for the good of those who love God, and are called according to His purpose for them." Beautiful words, beautiful reminder.
Materials used:
- Wood: graciously provided by Father Dearest
- paint: On hand.
- One wine cork for stamping
- Sand paper: Also provided by Daddy.
- Wood stain: Daddy-o
- Burlap: Three dollars, Michael's
- Lace: On sale for $1.50 at Hobby Lobby.
This one had a lot of the original white paint on it, so it was already looking good. I took the wine cork, dipped it in silver paint, and made polka dots on the front. I then loaded up the sides with sparkle paint. I love sparkles. Then I simply painted on the verse. Lovely.

Next up was a bit more ambitious sign. First off, I decided to STAIN it. I have never stained anything in my life, but I've seen almost every episode of Rehab Addict, so I'm basically Nicole Curtis. I grabbed a brush, and rubbed that stuff on. It dried overnight, and I resumed the next morning. I first cut and wrapped a piece of burlap around one side. On top of that, I layered the lace. Next came the painting of "family." I added a period at the end, not sure why. Not sure I love it. Nonetheless, it's there for eternity. Another project done!


